Tuesday, January 23, 2018

Sealing up Seams!

So far this winter has proved to be challenging when it comes to working on the camper.  This past weekend we had a day of great weather with temps in the 40's and we took advantage of it.  We had one last roof rafter to tie in that was also where the tin roof met the aluminum siding.  This meant that it had to be butyl taped!  So with the sun shining we started to pull out the old getting ready to put the new in place.  After removing all of the rotting screws and pulling the nails we scraped off what was left of the old butyl tape.  Once the seam was clean we rolled out the new butyl tape and lined everything up.  In with the screws and now we have another nicely sealed seam... only about 50+ more to go LOL but whose counting!
Clearing away the tar stuff so we can get to the screws!

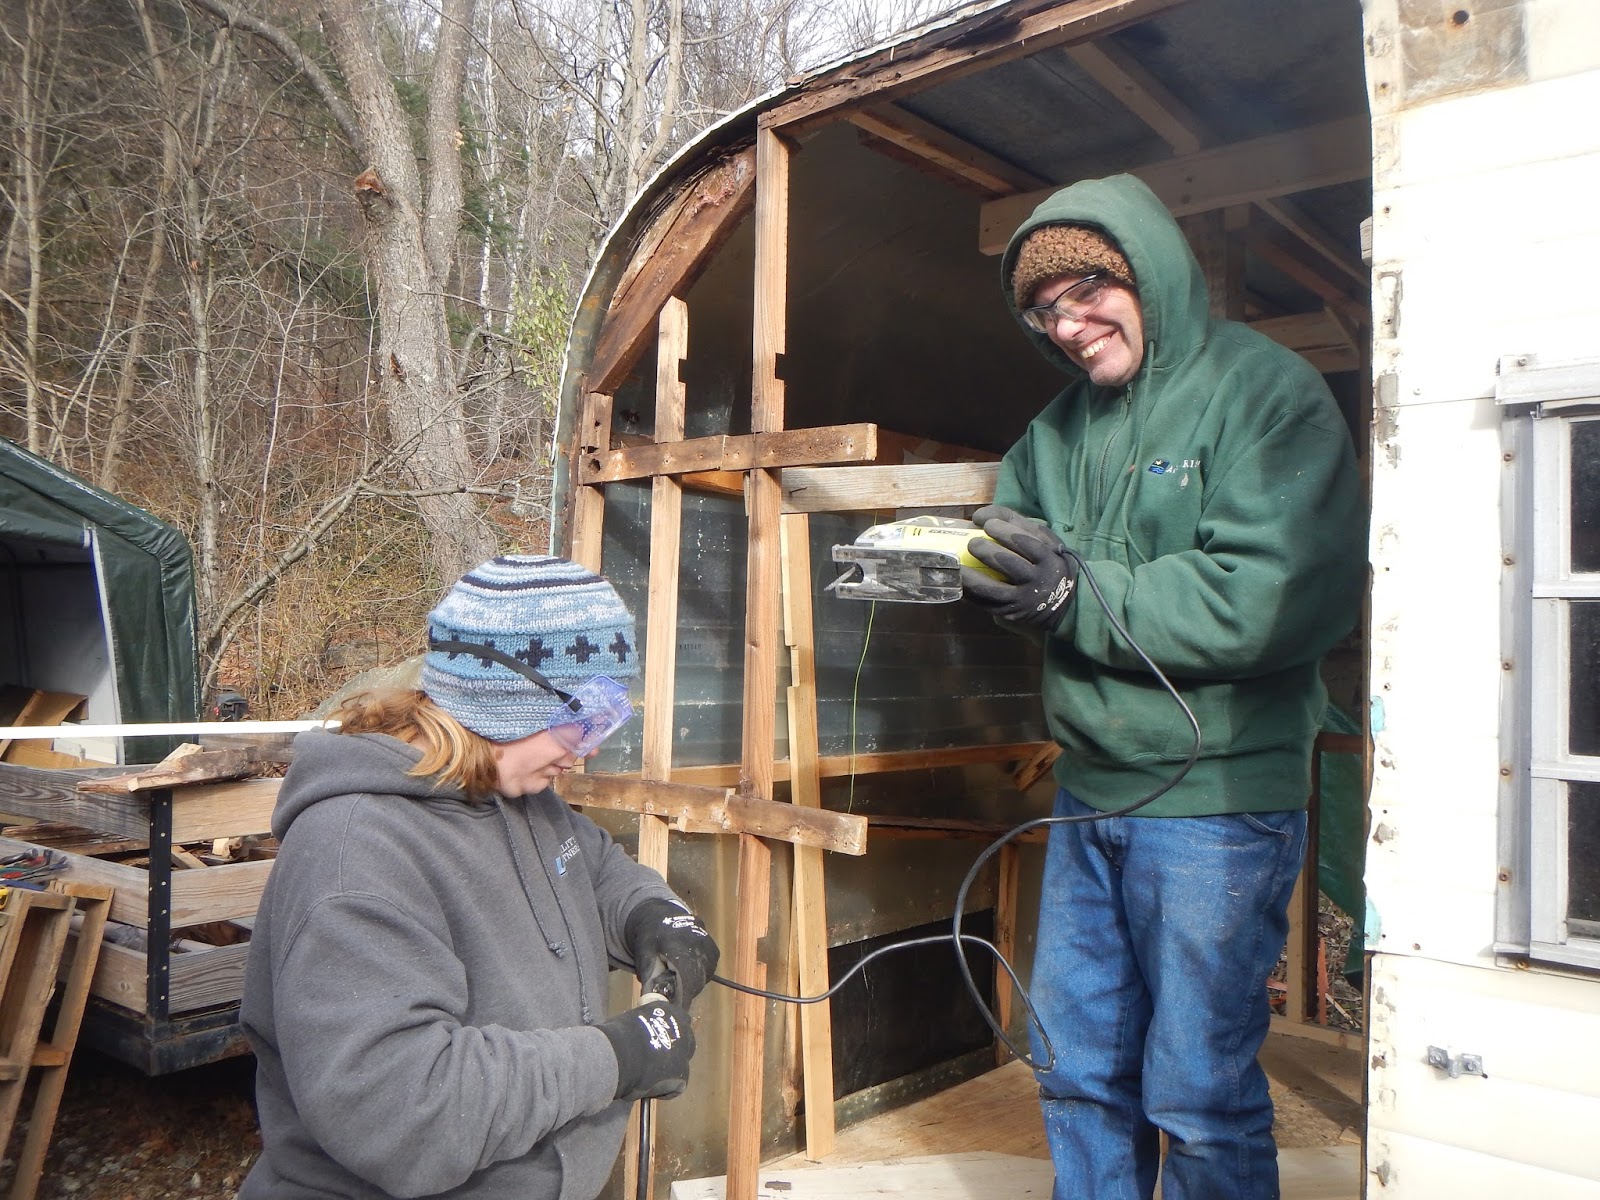
Grinding slots in the screw heads so we can get them out... those
trailer heads do not like to budge!

Mom checking out the progress and helping to pop out the dents :) 

The new butyl tape in place!

Now for the screws! Dad was braver than me... he trusted the roof...
The new rafters held up well. LOL!

In between working on the camper I worked on a quick painting of the progress! ;) 

Friday, January 5, 2018

Ants, Below Zero, and Happy New Year!

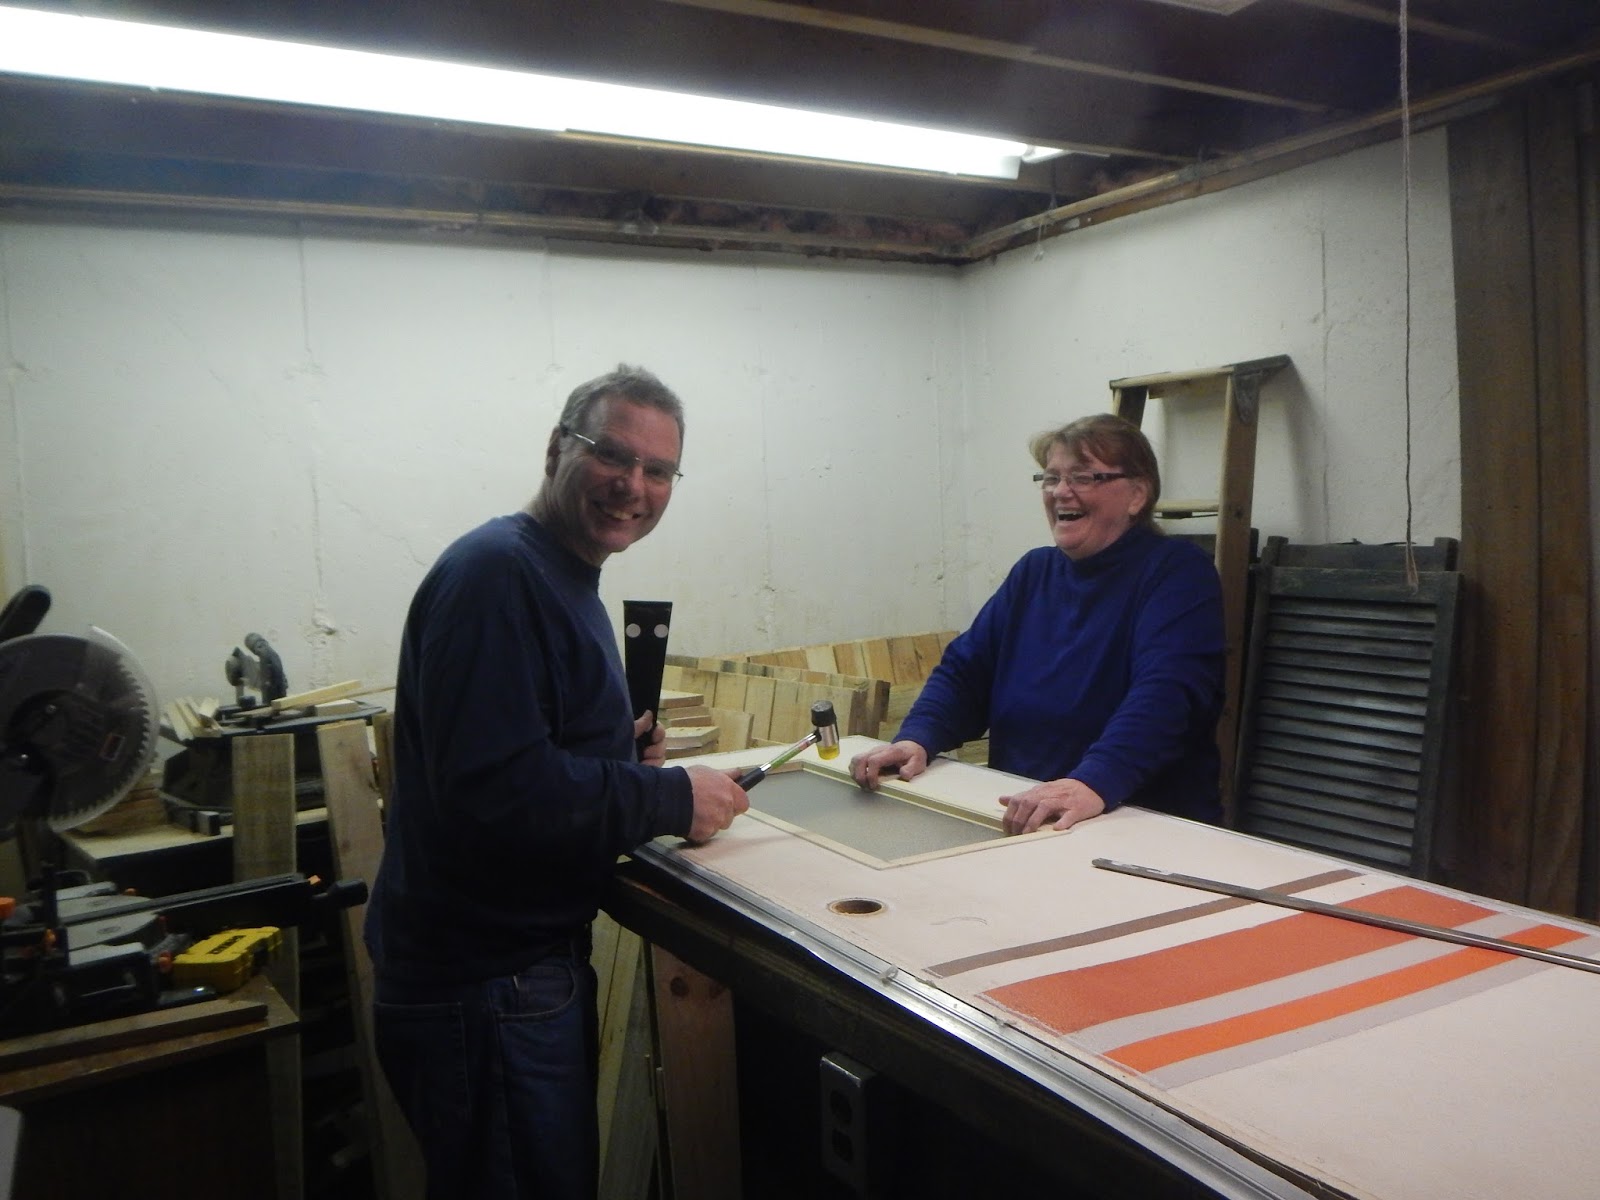
Well the Temperatures have not been the best for working outside on the camper but we have managed to get a few things done.  We have been working on some indoor projects like prepping the cross pieces for the siding to be mounted on and working on the door... Well the door was going to be an easy fix in the basement... The door is not the original one to the camper.  Someone had replaced it at some point with one that opens in the opposite direction of the original.  This created a problem with it bumping the outside light not allowing it to open all the way.  So our fix to this problem was to still use the same door just take it apart and reverse it so it opens in the right direction.  Sounds like a great project to do inside where the temperatures are not subzero, right!  Well, once we stared to pull the door apart, in the basement, ANTS started to fall out of it.... come to find out they were feasting on the doors structure...yuk!  So with, the only thing we had for spray, wasp killer we were in the basement spraying and stomping ANTS as they were falling out of the door.  We did not finish dismantling the door that night.  It went out the bulkhead to be left in the cold for the night before we finished pulling it apart outside the next day... Burrr.  There has been a lot of learning curves to this camper!  On New Years Day we worked outside on the camper and managed to get a lot of things done despite the cold.  We installed the cross pieces for the siding,  installed some of the metal plates to tie the old floor in with the new sections, and got some more of the carriage bolts in place.   Every little project that we complete on this camper it is one step closer to being a home.  Despite the challenges that we have faced I am loving working on it and making wonderful memories with my parents that will last a life time.
Prepping the cross braces for mounting the siding!
Love the Pocket hole jig!

Starting the door tear down...

The ants... I did not get a picture of the other end of the door but
it was worse!

The next day... can you see the pathways the ants
made in the styrofoam insulation?

cleaning up the door skins..

Installing the cross pieces!

Installing the metal plates!

Hold it.. Let me get a picture! :)

The drivers side is almost ready for siding! 

The metal plates...

and some of the carriage bolts!

Friday, December 22, 2017

Snow, New Wood, and Looks Like Home!

It has been a few weeks since I posted an update... We have been working on the camper!  The last of the new floor is in and we finished the studs on the driver side of the camper.  We also completed two of the crosspieces in the back of the camper and managed to get it butyl taped before it started to snow!  It is coming along but it is still on life support!  We still have to put the rest of the carriage bolts in the floor so we have to keep the snow cleared out from around and under the camper until this is done!  I loved how it looked with the work light on inside while the snow was falling... even though it is still just a shell at this point it looked so warm and inviting... it looked like home!
Glowing in the snow!

Measure first!

Keeping it on the level!

The frame all prepped and ready for the new floor!

Getting ready for the butyl tape!
 
One screw at a time or two screws at a time!

Yes! It is back together!

making the piece for the floor...

almost ready to put in!

All the new wood looks so nice and so sturdy!
Let is Snow!

The first carriage bolt is in!


tying the old in with the new.

Getting ready to wrap things up for the night...


Friday, December 1, 2017

Day 14-16: Turkey, Sweet Potato, and Learning Curves!

Over Thanksgiving we were able to get a lot done on the camper!  It has all new 4 corners and all but one of the roof joists are tied in! We pulled the front window to put the corners in and the weather warmed up enough to be able to re-butyl tape the window when we reinstalled it!  The front curves were trial and error to get them right.  They were so far gone with rot there was not much left to go by! After a few tries and some trimming we managed to get them in place! We also got some more of the studs in!  It is starting to look like a solid structure again! 
Getting ready to replace the back curb side corner!

The Saw has to be plugged in first! LOL!

Out with the old!

In with the new!

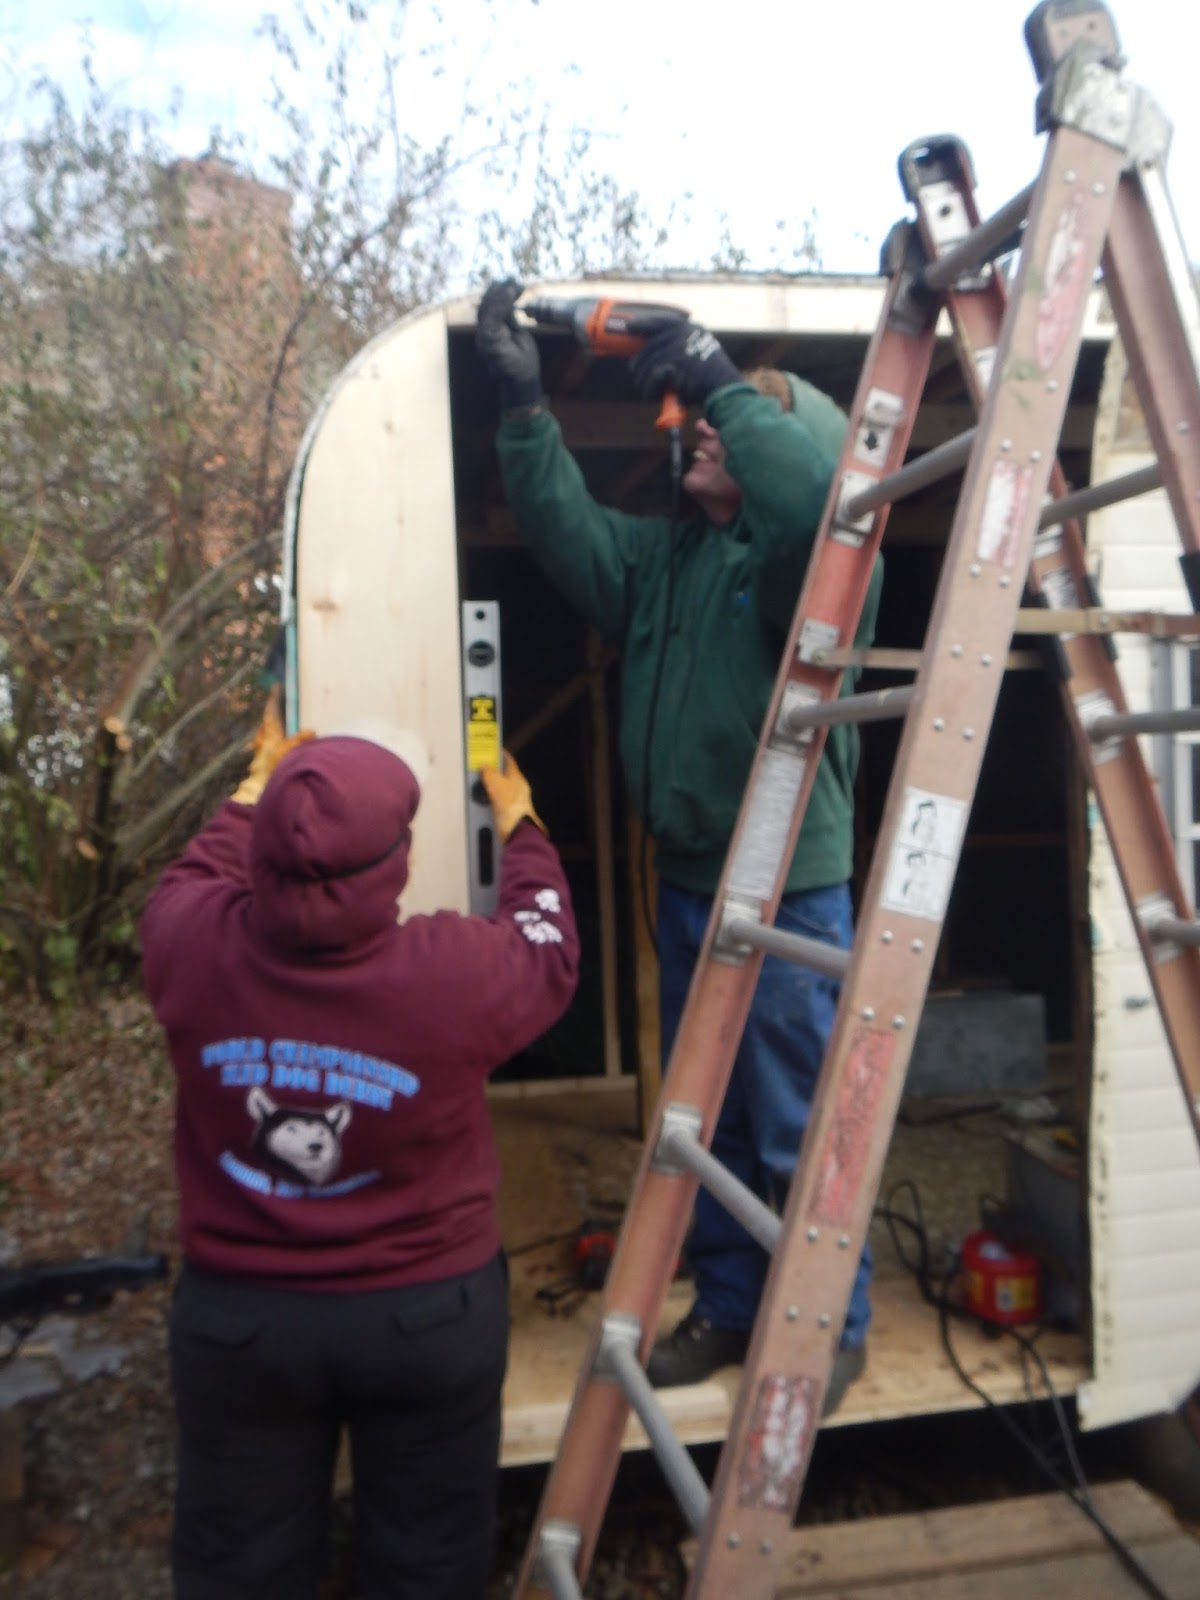
Getting the header tied in!

The next day we pulled the front apart.  It took some time to
get these corners right!

Yes, That is part of the roof... We had it pull all the screws
across the top edge to replace the front roof joist.

we cleaned it up before we put it back in place.

The third day we got the front back together!
Getting the front tin all lined back up!

Putting all the screws back in place with the butyl tape!

Our ground support! :) 

Dry fitting the window... Phew! It fits!

The front end all put back together!  As you can tell we
were very happy about this!

The view from the inside of the front window with the moisture
barrier in!

Tuesday, November 21, 2017

Day 13: Coleman Lantern and Headlamps!

Saturday was another long day working on the camper.  We were able to get a lot done but we were using headlamps to finish things up!  We replaced the rest of the floor in the back of the camper and got one of the back corners in.  The floor was a challenge to get out.  all of the carriage bolts holding it down had to be cut and pulled out.  We also had to remove the steps and we pulled the contraption off the back that someone had built to replace the luggage door.  we wanted to replace the rest of the floor in one piece but the sheet of plywood was not big enough so we ended up having to piece it.  It feels really good to have a solid floor by the front door again instead of something that felt like a sponge!  Once it came time to put the corner piece in place, we had pre-made during the week, it was getting dark.  The drop light decided not to work so one of my dads old Coleman lanterns did the trick and the new corner looks great! Looking forward to what we will be able to get done next time!  Every time we replace a rotten piece of wood with a new one we are one more step closer to having a new camper!
cutting out the floor!


We had to wiggle the floor free but it came out rot and all!

now to clean up the frame and look the luggage door thing is gone!
The contraption that was hanging on the back was very heavy
and I was very glad to pull it off!

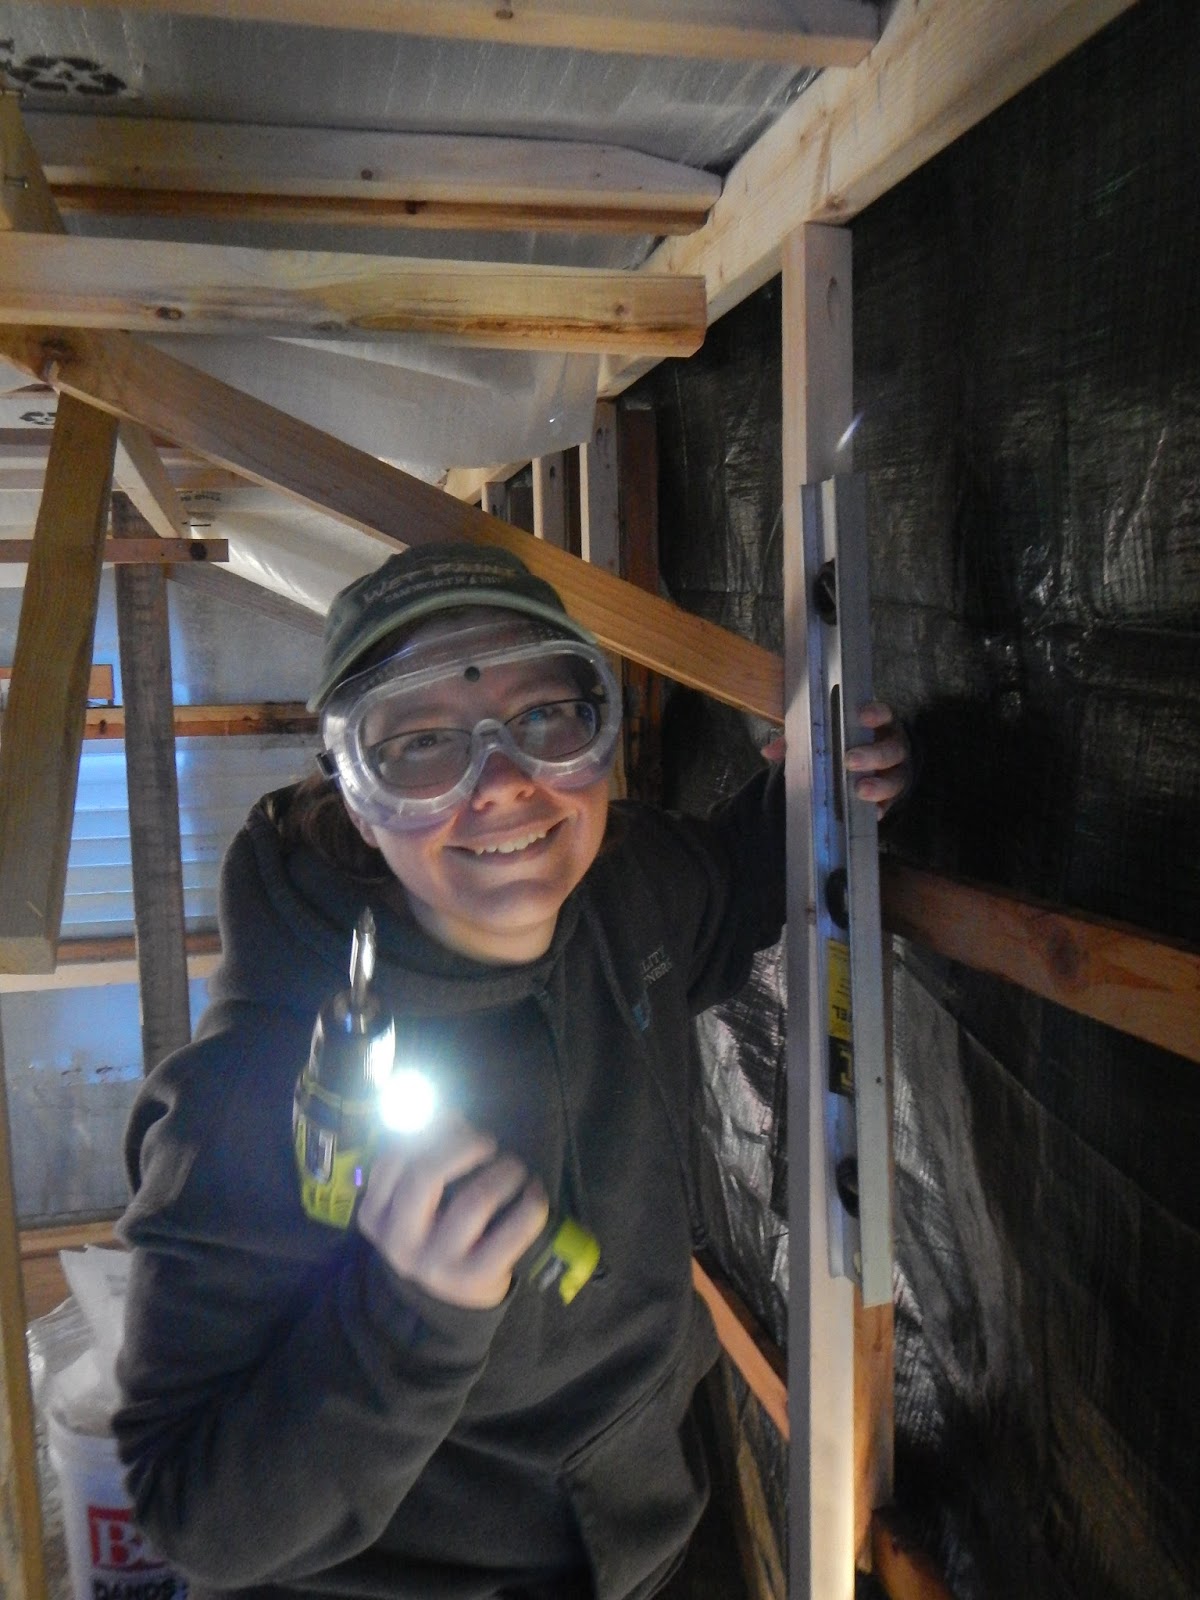
Head lamp in use!

The corner pieces that we made during the week!

Getting the corner piece in place using the Colman
lantern to light the way!

What the new floor looks like during the day!

What the new corner piece looks like during the day!

Well,  it has been awhile since I have posted!  Things moved along very quickly as we were finishing Susie up!  Life got busy and we have tr...